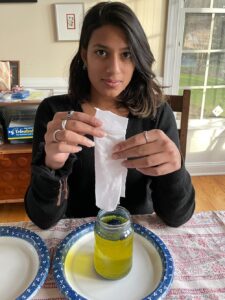
This activity was created by Zara and her mother, Devika. When this activity was posted for STEAMfest 2021, Zara was in the 9th grade at Woodlawn School. Devika attended classes in India to learn the art of indigo dyeing. Zara learned the process from her mother.
For this activity:
- Watch the video above for an introduction to Indigo.
- Read about the science and history of Indigo below.
- Optionally, make your own tie-dye t-shirt.
The Science
Natural Indigo dye is a sustainable, eco-friendly process and has recently been popularized in “slow” fashion as a more earth-friendly option.
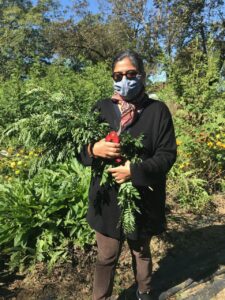
A variety of plants have provided indigo throughout history, but most natural indigo was obtained from those in the genus Indigofera, which are native to the tropics, notably the Indian subcontinent. Interestingly enough, Indigo also has a rich history in the Carolina’s. During the early colonial days, indigo, also referred to as “blue gold”, was South Carolina’s most important cash crop. You can read more about that below.
Indigo is a challenging dye because it is not soluble in water. To be dissolved, it must undergo a chemical change (reduction). Reduction converts indigo into “white indigo” (leuco-indigo). When a submerged fabric is removed from the dyebath, the white indigo quickly combines with oxygen in the air and reverts to the insoluble, intensely colored indigo. A common reducing agent is calcium hydroxide, but there are a range of natural approaches including composted bananas or dates, animal urine, and bacterial culture.
Here are a couple of pictures that show how indigo has been a part of human history for thousands of years.

And here’s a great video about the science and history:
Indigo in South Carolina
The growing of Indigo was an important industry in the South Carolina Low Country. Here’s a great article that explores the history:
https://www.ccpl.org/charleston-time-machine/indigo-fabric-early-south-carolina

Indigo Today
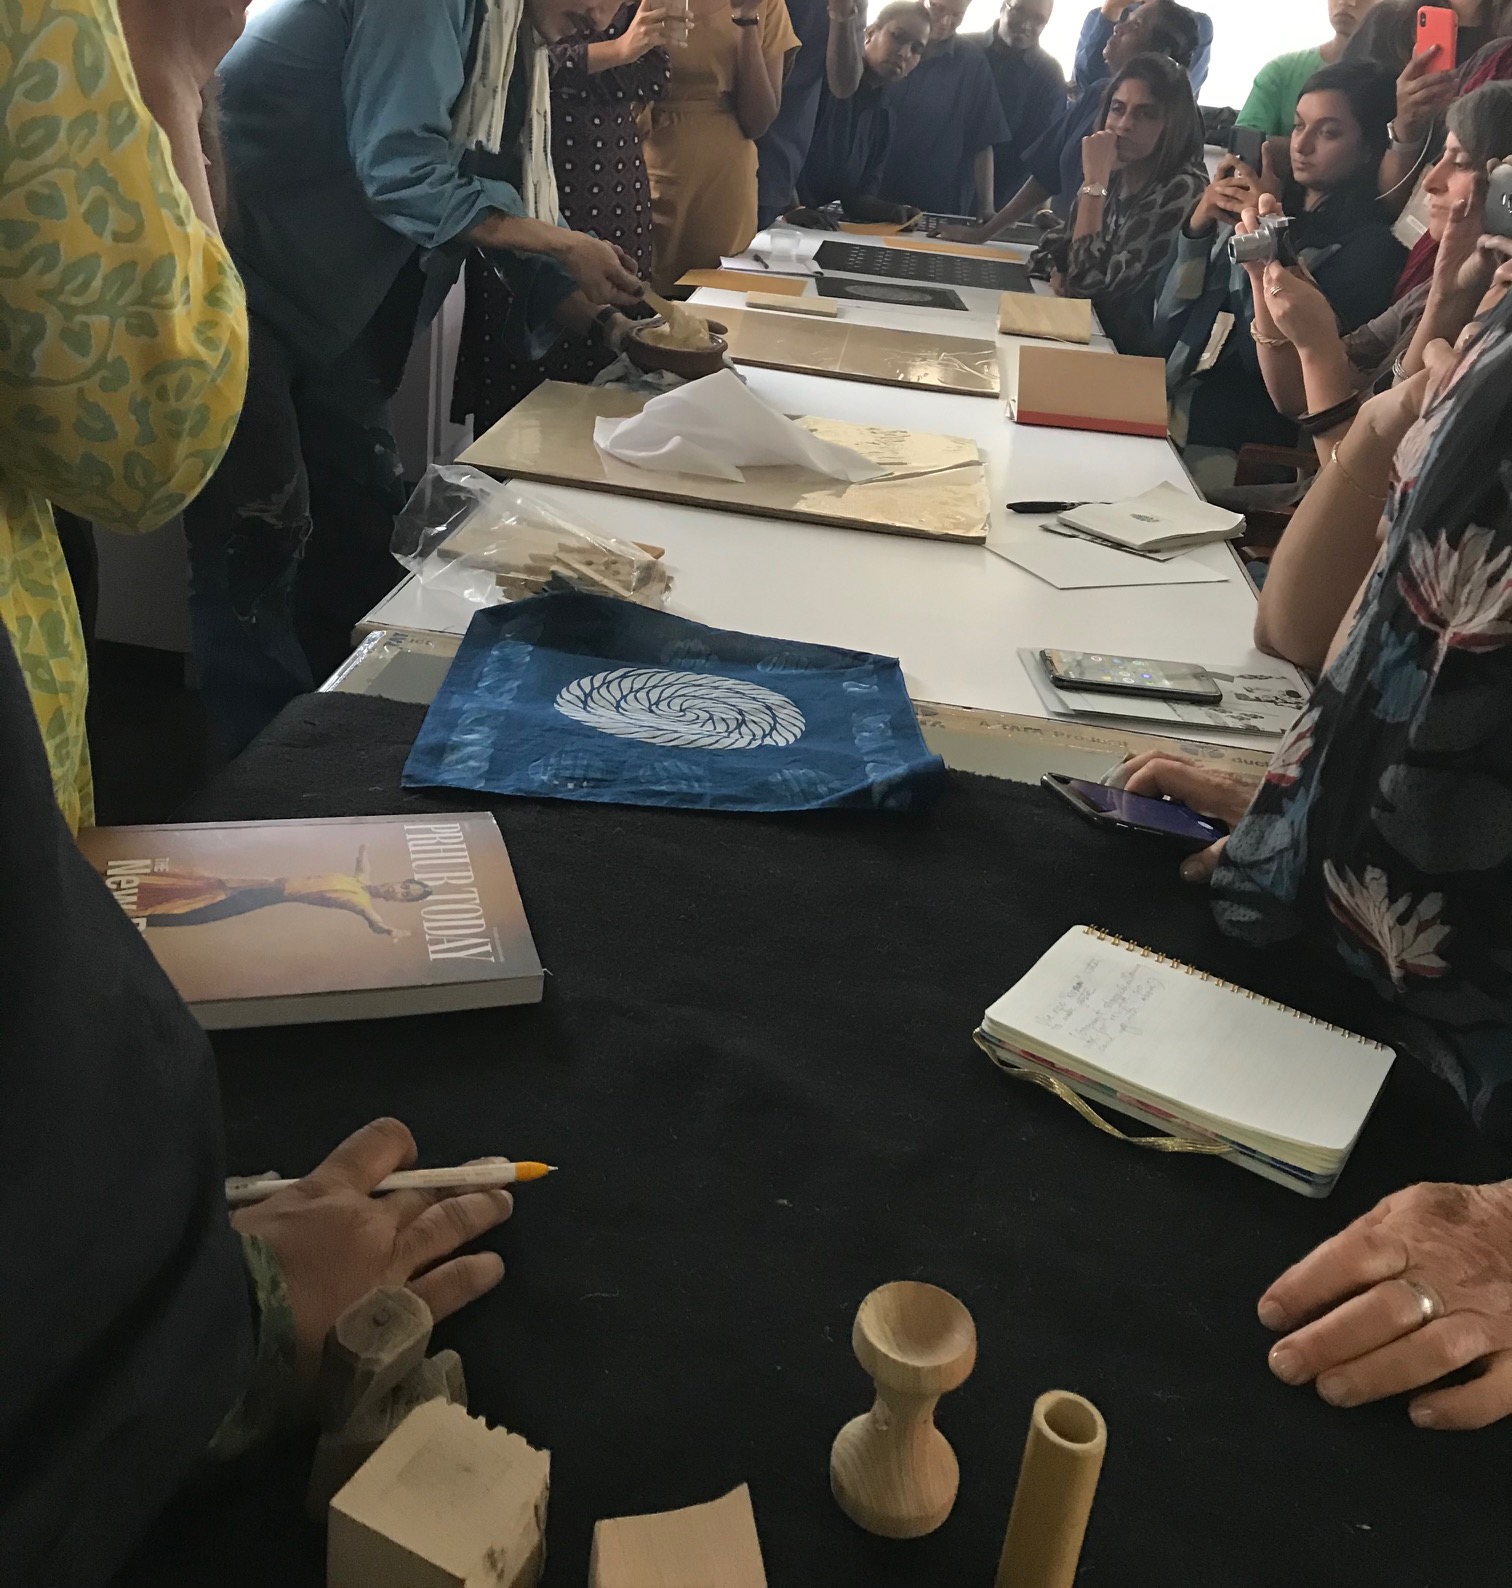
Many people still learn and practice the art of Indigo dyeing. Here’s a demonstration of a Japanese style of dyeing with Indigo. They make a stencil and print a resist paste onto the fabric and then dye the cloth with Indigo.
Explore Further
Wonderful video from Brooklyn Textile Arts Center on the science and process for a range of natural dyes:
Tie-Dye T-Shirt
Indigo dyeing takes training and experience to do safely and produce pleasing results, but you can have fun making a tie-dye t-shirt at home.
There are many different ways to tie-dye. This video shows six methods:
Here are detailed instructions for one method.
Supplies for Dyeing Your Own Fabrics:
- 2 cups of white vinegar
- water
- box of food coloring
- 1 to 3, 6 to 8 oz. bottles with pointed tips for tops for mixing your tie-dye colors (craft stores sell these for art projects and cake decorating)
- white fabric that you want to dye (t-shirts, bandana, socks, scarves, etc.)
- rubber bands
- plastic or rubber gloves (to prevent the food coloring from staining your hands)
- plastic bag
- scissors
- 1/2 cup of salt
In a large bowl or bucket, mix 2 cups of vinegar and 2 cups of water. Add you fabric to the mixture and let it soak for one hour. Make sure the fabric is submerged. If it floats, a water bottle or jar of water can be used to weigh the fabric down.
While you are waiting for your fabric to soak in the vinegar and water mixture, you can mix up your tie-dye colors. One to three colors is preferred. Remember, less is more, too many colors and your tie-dye may become muddled. Mix 1/2 cup of water with 8 drops of food coloring in your bottle. Some of the nozzle tips have holes while others need to be punctured. Use a pin to poke a hole in your nozzle if it does not have one.
After an hour, remove your fabric and wring out the excess vinegar and water mixture. Your fabric should remain damp.
To make a swirled tie-dye, pick a spot on your fabric and begin to twist. Continue to twist the fabric into a swirl. Secure the swirl with multiple rubber bands so you have multiple sections of fabric between the rubber bands.
Pick a section between the rubber bands and begin to squeeze your first color onto that section. To avoid the food coloring from staining your hands, try wearing plastic gloves. If you are only using one color, continue to the next section until all sections are done. If using two or three colors, move on to your next section with your next color, alternating between colors until all sections are colored. After you have finished, flip the fabric over and make sure you have filled in any white areas with color. The colors will be darker in this step than when you finish.
Place your fabric in a plastic bag and tie it shut removing air. You can also use a resealable bag and push all the air out. Let the fabric sit for 8 hours in your plastic or resealable bag, allowing ample time for the dye to set. Leaving your bag in a warm, sunny area also can help set the color(s).
After 8 hours, remove your fabric from the bag and begin to remove the rubber bands. Difficult bands can be cut with scissors, but make sure you do not cut your fabric. You may want to wear gloves again to avoid getting dye on your hands. You may also want to place your tie dye on plastic wrap or aluminum foil to avoid staining other surfaces.
Mix 1/2 a cup of salt with 1/2 cup of water in a large bowl or bucket and dip your fabric in the salt water. Wring out the salt water and rinse the fabric under cool water in a sink or other basin until the water runs clear.
Once the color has stopped bleeding from the fabric, if the fabric allows, place it in the dryer. This will help set the color. Alternatively, hang it to dry. The color(s) will lighten up after rinsing and drying, and this is normal.
When washing, wash the fabric or garment separate for the first 2 to 3 times as the colors may bleed onto other fabrics. After a few washes, this should stop.