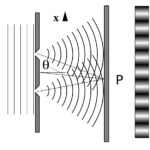
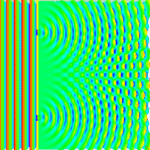
In the classic “double slit” experiment a laser or other light sources is directed towards a pair of closely spaced slits. The wave nature of light causes the light waves passing through the two slits to interfere, producing bright and dark bands on the screen. This is unexpected and not explained by classical physics! The following diagrams might help visualize what is happening:
The spacing of the fringes is controlled by the wavelength of the light source, the distance between the slits and the distance between the laser and the target by the formula:
w = zλ/d
- “z” is the distance from laser to target (m)
- “λ” is the wavelength of the laser (μm)
- “d” is the distance between the slits (mm)
- “w” is the distance between fringes
If we replace the double slit with a strand of hair then light waves will wrap around the hair and interfere in the same way as the double slit setup. We can then measure “w” and solve the above equation for “d” to find the width of the hair.
Let’s give it a try!
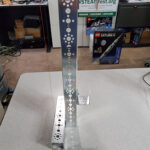
Step 1. – Mount the laser pointer.
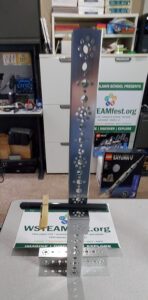
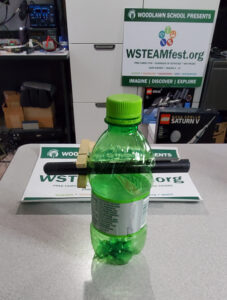
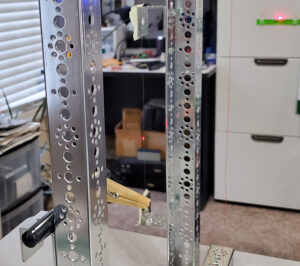
We need to mount or secure the laser pointer so that it is level and steady. There are lots of ways to secure the laser pointer. I used some spare aluminum channel to make a stand. Other possibilities include:
- tape the pointer to a shoebox
- build a stand from Legos, Erector Set, Lincoln Logs, or similar
- water bottle with holes in the side
You’ll also need to figure out how to keep the laser pointer turned on without touching it. My laser pointer has a button that you have to keep pressed so I used a wooden cloths pen.
Step 2. – Setup a target
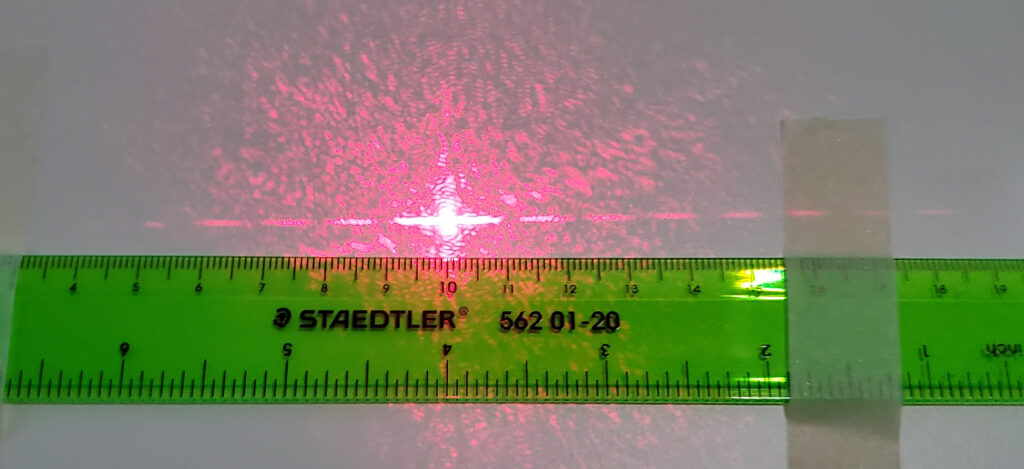
We’ll be directing the laser pointer at a target. A sheet of white paper will work just fine. The target needs to be placed 1 to 2 meters from the laser pointer. I taped a sheet of paper to the wall. Then I positioned the laser pointer to be 2 meters from the wall. In order to make it easier to measure the pattern I also taped a ruler with millimeter markings to the wall.
Step 3. – Mount the hair.
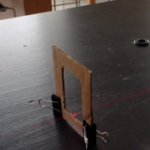
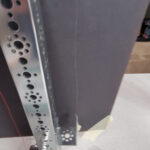
We need to mount the hair so it is stretched taunt in a vertical direction. And we need to be able to move the mounted hair back and forth to position it in the laser. I used some spare aluminum channel to make a holder and tape to secure the hair. Just like mounting the laser you can do it in any way that provides a secure mounting such as:
- cut a square in the center of a piece of cardboard and stretch the hair across the opening
- build a stand from Legos, Erector Set, Lincoln Logs, or similar
For my setup I also mounted a thin wire on the frame to measure separately from the hair.
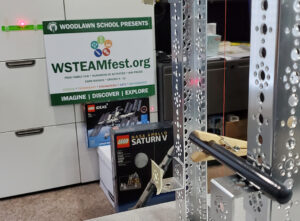
Step 4. Turn on laser and align the hair in the laser’s path.
Slide the hair mount into the center of the laser’s path. Look for the position that give the brightest impact of the laser on the hair. Here are a couple of pictures. Click the image to see larger size.
Step 5. Observer the pattern on the target.
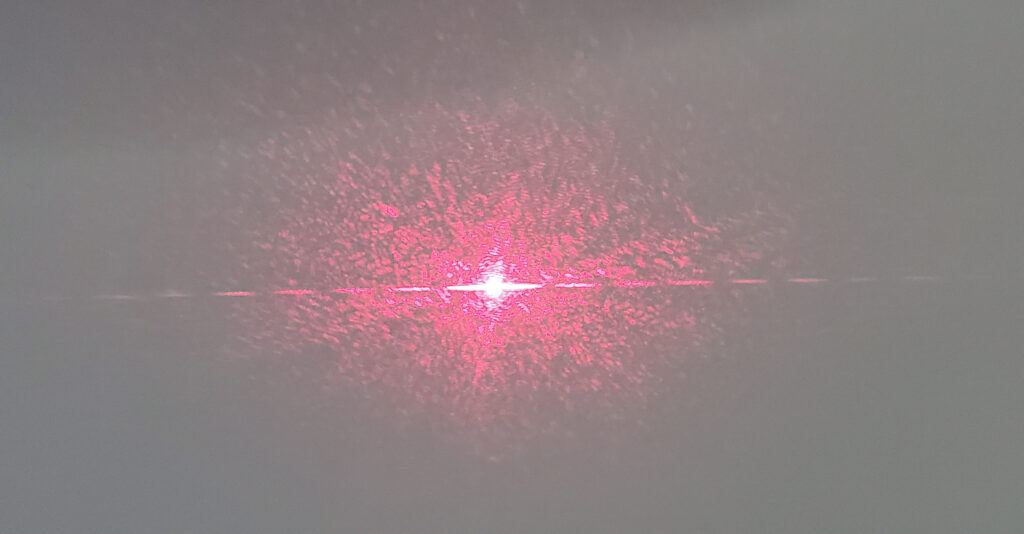
Notice the pattern on the target. Here’s what I got:
Notice the bright center and then the horizontal “dashes” extending to the left and right. Is this what you expected to see?
Step 6. Measure the pattern.
Now use a ruler to measure the pattern.
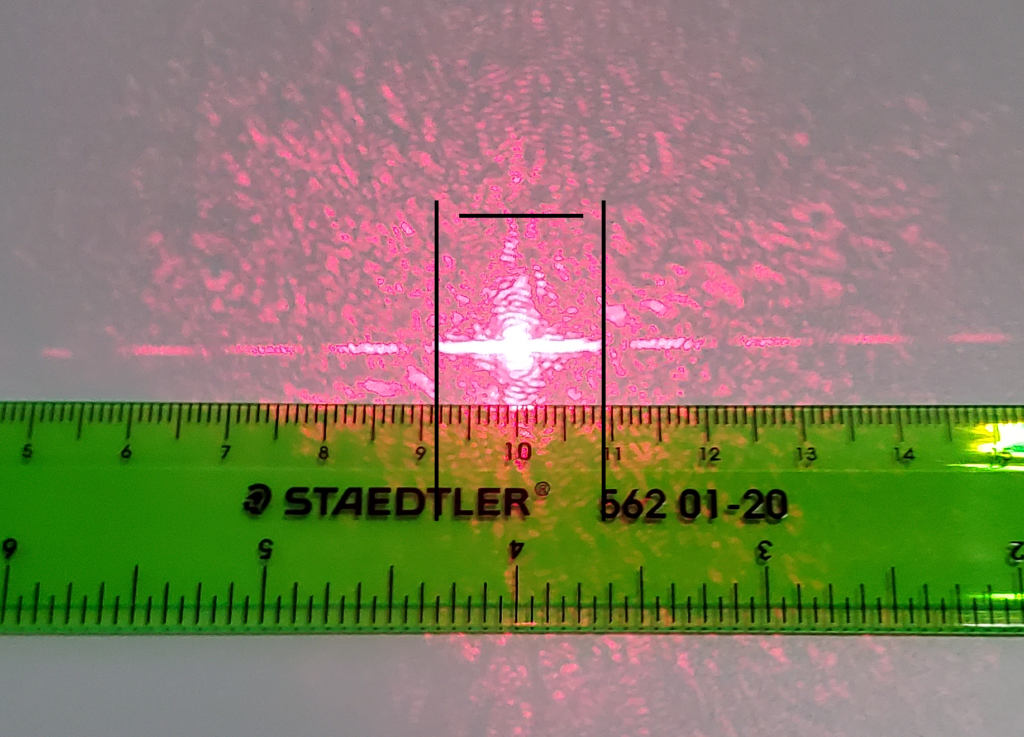
Measure from the left edge of the center to the right edge of the center.
In my case the measurement is 17.5 mm.
Step 7. Calculate the width of the hair.
Now for a little math! Here’s the equation:
Hair width = (Laser Wavelength * distance to wall) / (width of center pattern * 1/2)
For the Laser Wavelength look at the label on the side of the laser pointer. If there is no label then you can use typical values. For example red laser pointers have a typical range between 630 nm – 680 nm. There is no label on my pointer so I will use 655mn for my wavelength.
Hair width = (680nm * 2 m) / (17.5mm * 1/2)
We’ll convert everything to meters:
Hair width = (0.000000680 m * 2 m) / (0.0175 m * 1/2)
And plug it into a calculator:
Hair width = 0.00000136 m / 0.00875 m
And the final result is 0.000155 m or 15.5 µm.
According to The Physics Factbook, human hair ranges from from 17 to 181 µm which would suggest that my measured value is low but not unreasonable.
It is possible to make more accurate measurements of the width of the hair by measuring each of the “maxima” in the pattern and then averaging the resulting values.
Earn badges and qualify for prize drawing by registering and answering journal questions. It's fun and easy!
Credits
By Ebohr1.svg: en:User:Lacatosias, User:Stanneredderivative work: Epzcaw (talk) – Ebohr1.svg, CC BY-SA 3.0, https://commons.wikimedia.org/w/index.php?curid=15229922
By Lookang many thanks to Fu-Kwun Hwang and author of Easy Java Simulation = Francisco Esquembre – Own work, CC BY-SA 3.0, https://commons.wikimedia.org/w/index.php?curid=17014507

